Pages

Monday, 26 December 2011

Super Quick Cauliflower / Gobi Biryani Recipe


Yes, I totally made this recipe up. There's no such thing as a Cauliflower Biriyani. No, you are right, cauliflower does get added on to vegetable biriyani occasionally there's no biriyani that's exclusively dedicated to cauliflower.
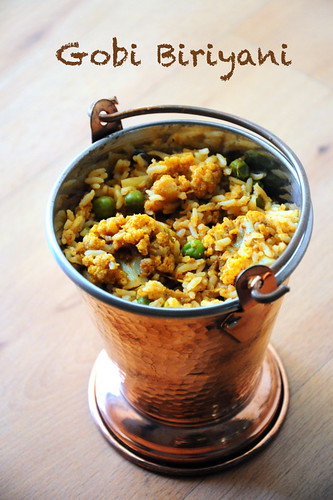
I am also going to say this up front before you read through the whole recipe and get disappointed. You need Biryani Masala to make this recipe. Its not one of those grind-your-spices-fresh type of recipe because that would make this a non super quick dish, and today we are all about super quick.

Its also a prerequisite to like cauliflower inorder to enjoy this dish.
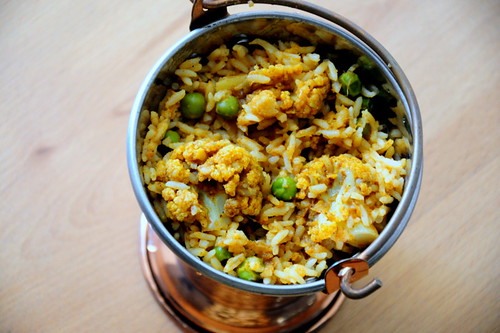
Gobi / Cauliflower Biryani Recipe
Serves 3

Ingredients:
1.5 cups basmati rice (or any long-grained rice)
1 large onion + 2 green chillies, ground to a paste
1 large tomato, pureed
A handful of green peas (fresh or frozen)
1 medium sized cauliflower, washed and cut into florets (around 4 cups)
1 tbsp ghee (or oil)
Fresh chopped coriander leaves for garnish (optional)

The Masala
1/2 tsp jeera / cumin
1 tsp dhania / coriander powder
A pinch of turmeric
1 tsp ginger garlic paste
1 heaping tbsp of biryani masala
Salt to taste

How I Made It:

1. Cook the basmati rice in 5 cups of boiling, slightly salted water until cooked but still firm. Set aside.

2. Heat the ghee in a pan and add the onion-green chilly paste. You can also slice the onions and chillies and add it that way but I felt like grinding it so I did. Fry the onion paste for about 2 mins. It will start losing moisture and get thicker.

3. At this stage, add all the masala ingredients in the order given. Fry well for about a minute till it starts smelling gooood.

4. Add the tomato puree, peas and cut cauliflower florets. Give it a good mix and cook closed on low fire until the cauliflower is cooked soft, yet retains its shape (about 5-7 mins). You can sprinkle some water if you feel the mixture is getting too dry.

5. Once done, check salt and then mix in the cooked rice gently until well combined. Garnish with chopped coriander leaves and serve with any raita and papad.
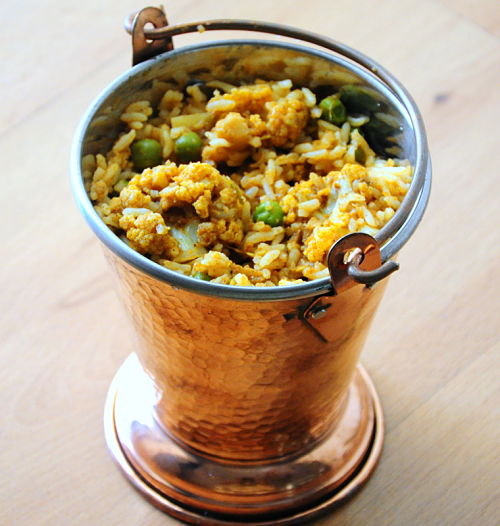
The preparation time for this biriyani is significantly less because you are not pounding any masala last minute. Depending on what biriyani masala you use, you will get a distinct flavour each time - I love that variety!


Masala Kuzhi Paniyaram Recipe

I thought I had posted this recipe yesterday but looks like I was dreaming while working - again! Anyway, here it is, my quick fix masala paniyaram recipe that gets made each time I have leftover dosa maavu. Originally part of the Chettinad Cuisine, its quick to prepare, easy and a very nice snack for evening tiffin. I love Chettinad recipes! Their love for food shows in their recipes, I feel.


You will need a paniyaram chatti/aebleskiver pan to make this, unfortunately, so if you don't have one yet, please do something to fix the situation ASAP.


Masala Kuzhi Paniyaram Recipe
Preparation time: 15 mins

What I Used:

Dosa/idli batter - 3 cups
Onion - 1, minced
Green chillies - 2, sliced round
Halved urad dal/split black gram/ulutham paruppu/uzhunnu parippu - 1 tsp
Red chilli powder - 1 pinch (I add it for the colour)
Hing/asafoetida/kaayam - a generous pinch
Greated coconut - 1 tbsp (optional)
Curry leaves - a few, torn into small pieces (optional)
Salt - to taste
Oil - 2 to 3 tbsp

How I Made It:

1. Mix all ingredients except oil into the dosa batter.

2. Heat the paniyaram chatti and add 3-4 drops oil into each hole. Once it heats, add spoonfuls of batter into each hole until its more than 3/4th full. Let it cook until the bottom is browned and crisp.

3. Turn over and cook the other side. Make sure that the stove is at medium-low so that the inside also gets cooked without burning the outside.

4. Once both sides are brown and crisp, drain on a kitchen napkin.


Serve hot with chutney and hot tea/coffee

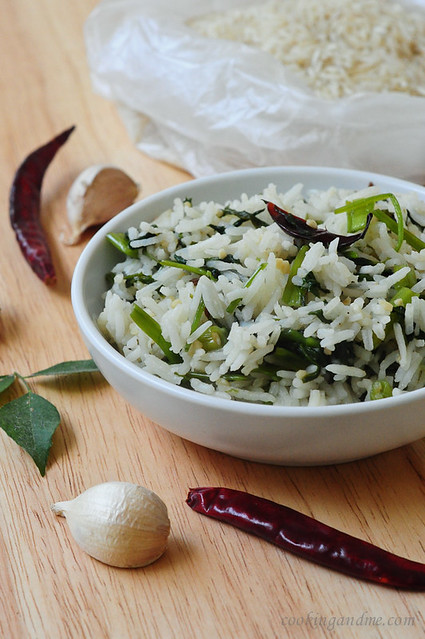
Garlic Flavoured Kang Kong Rice Recipe


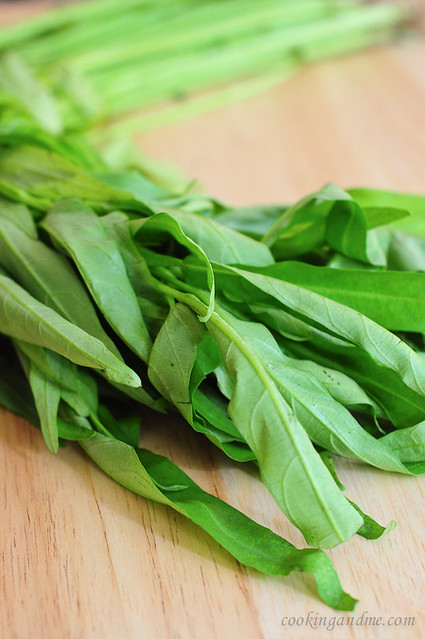
I made this a couple of months back to serve with the Banarasi Dum Aloo. When I posted a teaser of these dishes on my Facebook Page, a lot folks wanted to know what kang kong is. Its not easily available outside of Asia as far as I know but there's this dish called Sambal Kang Kong that I fell in love with during my first few Singaporean Malay meals in Singapore. Sambal is not vegetarian since it contains anchovies (although vegetarian versions do exist, it's not the real thing) and I haven't seen kang kong being used in any way but steamed or stir fried and served with spicy sambal.'


This could be because kang kong lacks any strong flavour of its own. Anyway, I was determined to try and vegetarian recipes with kang kong and knew it had to be paired with something that was spicy and had a strong flavour. Garlic seemed like a good choice in the flavour department. 

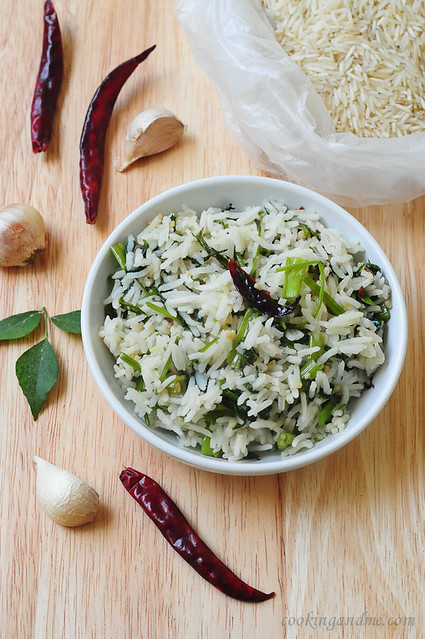
Garlic Flavoured Kang Kong Rice Recipe

Ingredients:
1 small bunch of kang kong, washed and roughly chopped 
1 cup  of cooked Basmati rice 
3 flakes of garlic, minced 
3-4 of dry red chillies, torn into halves 
1 tbsp of oil 
Salt to taste 


How I Made It:

 1. Heat a pan on low heat and add oil. When it warms up, add the minced garlic and fry for a minute. When the garlic turns fragrant, add the red chillies and fry again until they start to glisten and turn shiny. 

 2. Add the chopped kang kong with some salt and cook on medium flame until it gives it some water, and cooks in it. The leaves will begin to wilt and shrink - about 5-7 mins. 

 3. Add the cooked rice, mix well, heat through, and remove from fire. 

 Serves 2 : About 2-3 cups


In hindsight, adding some spicy sauce to the rice mix would have added a lot more punch to this, like maybe some Thai red curry paste, or a blend of green chillies+coriander leaves+mint leaves, etc.

 Cooked this way, its a bit bland but went really well with the Banarasi Dum Aloo.

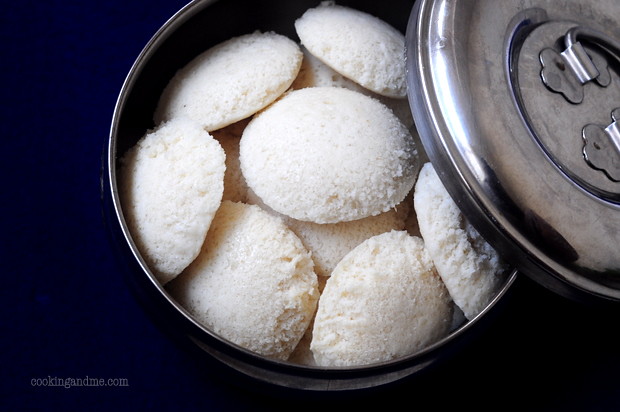
Murugan Idli Kadai Idli Recipe


It's time for another Free-Spirit Bloggers post! Time sure flies and each time I post something for a monthly event, I realise that even more.

 The theme for this month's was picked by Siri and she wanted us to cook up something that we had tasted and loved in a restaurant. It has to be a main course dish too. Although this seems easy enough to do, I had to think long and hard. There were quite a few dishes that fit the description of course but admittedly, most were not vegetarian and FSB is a vegetarian group :D

So I put on my thinking cap and the bulb lit up finally. TH and I both love Murugan Idli Kadai and particularly their masala dosa. Although neither of us are huge idli fans and hardly ever touch thing when our mothers lovingly make them, we do sometimes get a bit nostalgic about them when in Singapore.


Anyway, back to the story. When we were in Murugan Idli Kadai one evening gorging out on masala vade and masala dosa and some idli too just for good measure, the main cook came out to talk to the manager about something. Then he came by and smiled at us and said "chutney venuma?" (would you like some chutney?). I said "vendaam" and after a pause "idli romba super aa irukku, idhukku entha proportion-le arisi uluthamparuppu arappeenge". (No thank you. Btw, your idlis are superb, what proportion of rice to urad dal do you use for the batter). 

 Now I don't need to tell you that this question is quite cheeky. Its almost like going into KFC and asking what goes into their fried chicken crust. But surprisingly, the cook didn't even hesitate before saying "veettule pannaa namma arisi jaasthi poduvom. naange inge pannumbothu ulutham paruppu konjam jaasthiya poduvom, athuthaan ungalakku nalla soft idli tharum. 2 glass arisi edutheenganna oru glass ulutham paruppu podunga. appadiye, oru chinna spoon menthayam, apram oru pidi soru. correct aa varum"*

 This was the first time I was hearing about adding cooked rice to the idli batter but who was I to argue with the chef at Murugan Idli Kadai. I nodded happily, came home, and forgot all about it.

Eventually, my memory did kick start again and I tried idli as per his recommended recipe. It was strictly average. Then I tried again and the second time, it came out brilliantly. 

 Although this is actually a secret recipe, I am going to share it with you anyway!


Murugan Idli Kadai Idli Recipe

Ingredients:
2 cups  of par-boiled ponni rice 
1 cup of whole, husked urad dal / ulutham paruppu / uzhunnu parippu 
1/4 tsp  of fenugreek seeds / menthayam / uluva 
A handful of cooked rice 
Salt  of to taste 


How I Made It:

 1. Soak the rice and dal separately, the dal for about an hour and the rice for about 4 hours. Add the fenugreek seeds to the urad dal while soaking. 

 2. Grind the urad dal first, with just enough water to grind it to a smooth paste. Once done, remove and set aside. 

 3. Next, grind the soaked rice. When its almost done but still grainy, add the cooked rice and salt. Grind until smooth and add to the already ground urad dal. 

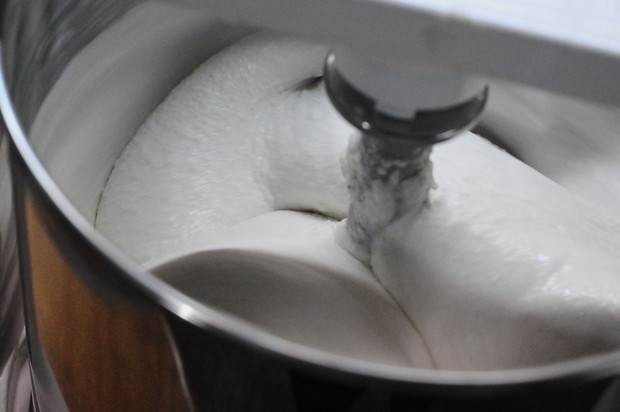
 4. Fold together until well combined. Leave in a warm place undisturbed for atleast 8 hours or overnight. Leave enough room in the vessel for the batter to ferment and rise. 

 5. Once fermented and risen, mix well to let all the air bubbles to escape and the batter to come together well. Don't overbeat, and if its too thick, add a little water. For idlis, the batter should be slightly thick but of pouring consistency. 

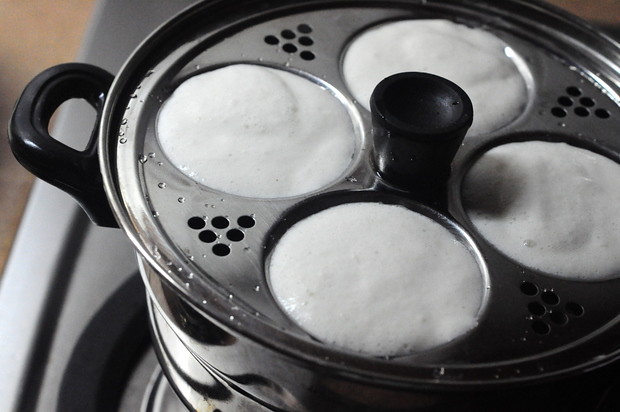
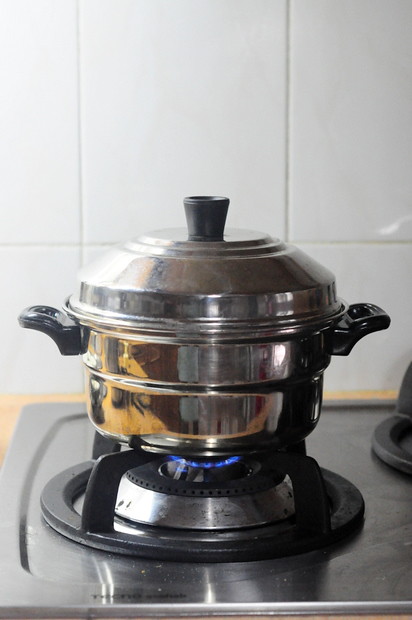
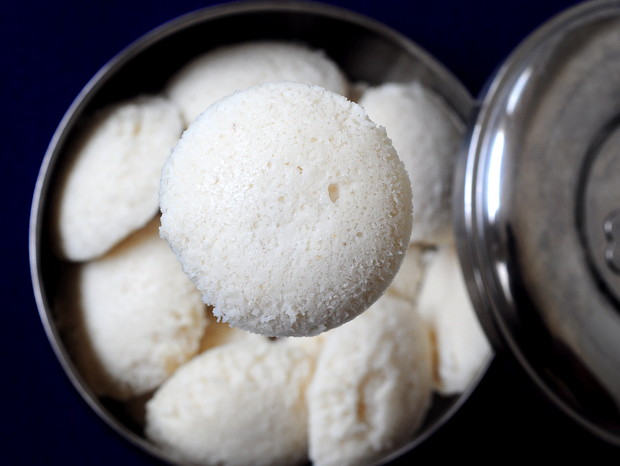
 6. Pour into oiled indli moulds and steam for not more than 12 minutes. Overcooking idlis can result in very hard idlies and a dry crust on top. Its better to undercook them even, but make sure you don't overcook idlis.


Serve hot with chutney and sambar. 

Makes about 20 idlis


Notes:

 - the urad dal : rice proportion is always debatable. Although this recipe seems like the equation is very skewed, the idlies came out super well for me. If the quality of your urad dal is very good, you can get away with adding more rice.

 - I made dosa with this batter the next day and they turned out ok but I would prefer more rice in my dosa batter. This works better for idlis.

 - Make extra idlis, store in the refrigerator and microwave with some sprinkled water on top. Serve immediately.

 * the translation for that roughly is: when we make idlis at home, we tend to add more rice. Here, we add more urad dal. The proportion is 1:2 and I also add a small spoon of fenugreek seeds and a handful of cooked rice. Try this, it will come out well

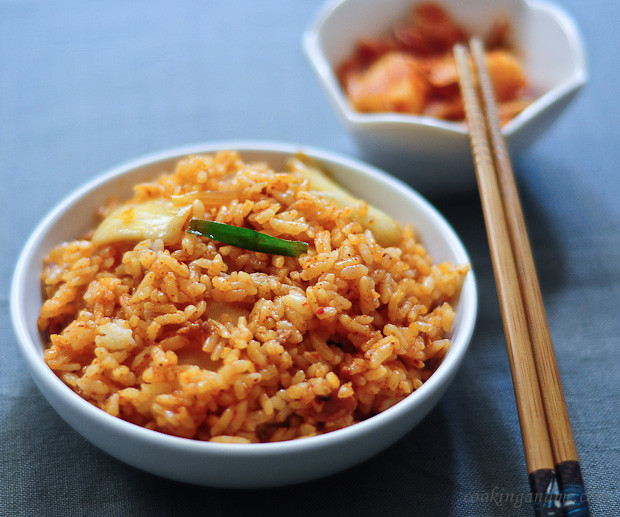
Vegetarian Kimchi Fried Rice (Kimchi Bokkeumbap) Recipe


I love Korean food. The flavours are amazing and I love those tiny dishes of so many different things they serve along with their meals. I love the small, steel, tiffin box type thing they serve rice in, it's all just so lovely.

Kimchi is an integral part of every household and apparently there are more than a hundred varieties of kimchi. My Korean colleague tells me that her mom makes it in bulk and stores it, especially when the cabbage used to make Kimchi is in season. My favourite Korean dish is Bibimbap, closely followed by grilled Saba fish, mainly because it's a great one pot meal and has pretty much everything a meal should contain. The sauce that comes with it is nice and flavourful and adequately spicy for my Indian palate.

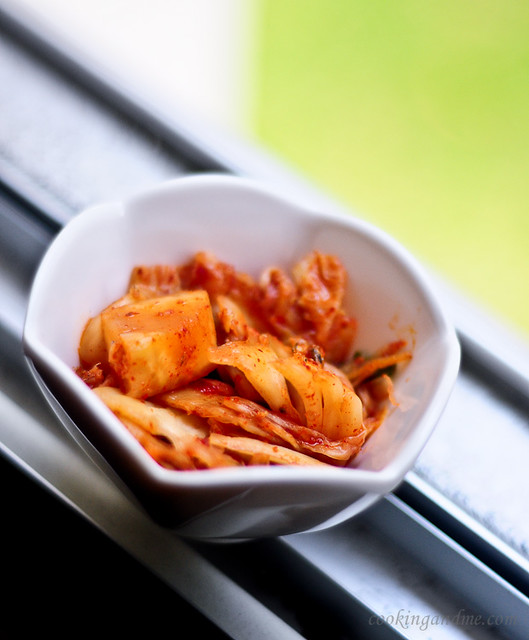
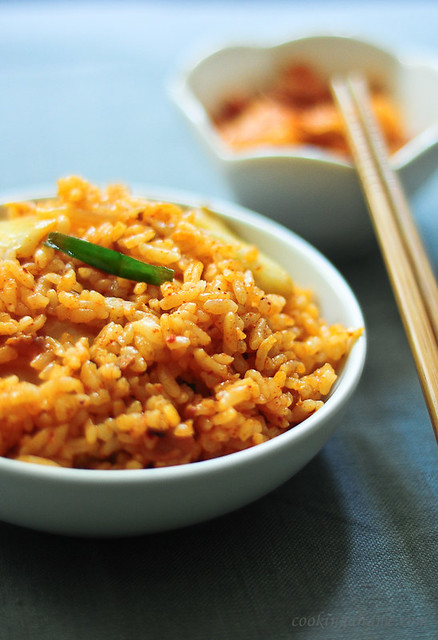
I hope to make a vegetarian version of Bibimbap at home some day. When I went on a whirlwind trip to Seoul in July this year (pictures are here), I brought back some vegetarian Kimchi from the amazing variety that was available in the Seoul airport. There were two options for vegetarian Kimchi and I picked the one that looked redder and spicier. It didn't disappoint. I whipped up some super delicious fried rice with it, and here's the recipe.


Vegetarian Kimchi Fried Rice (Kimchi Bokkeumbap) Recipe


Ingredients:
2 cups  of cooked rice (I used regular ponni rice) 
1 cup vegetarian kimchi
1 onion, sliced
2-3 spring onion, chopped into 3" pieces 
2 tsp of Asian sesame oil (or any oil you have in hand) 
2 eggs (optional) 
2-3 cloves of garlic, minced 
1/2 tsp black pepper powder


How I Made It:


 1. Heat the oil and add the minced garlic. Fry for 30 seconds and then add the onion. Fry until soft and transparent. 


 2. Now add the kimchi and the cooked rice, stir well to incorporate and heat through until well combined. Adjust salt and add pepper powder. 


 3. You can top off each bowl with a fried egg, that's how fried rice is normally served in Korea. You can also scramble the egg and incorporate that into the fried rice. 


 For a non-vegetarian version, add boiled chunks of meat of choice to the garlic and oil, fry for a bit and proceed with the rest of the steps.


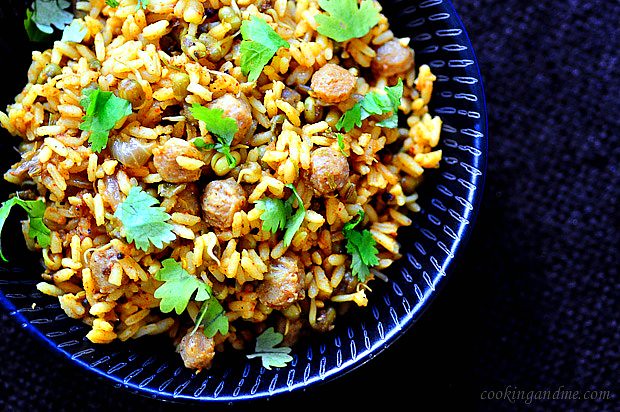
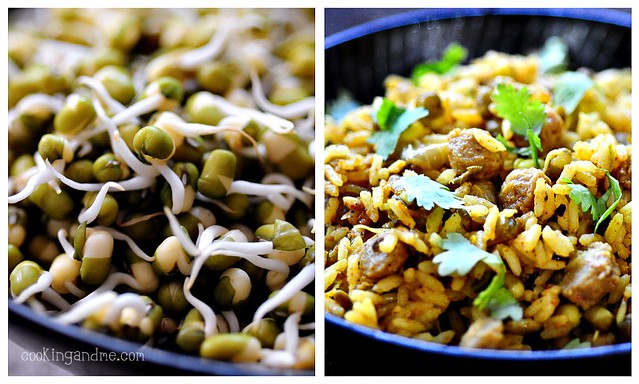
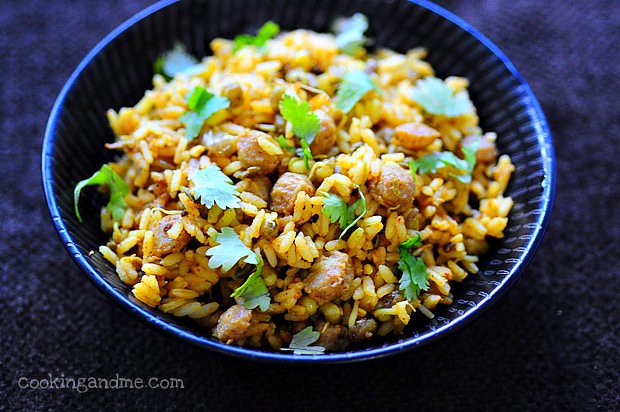
Moong Bean Sprouts Biryani with Soy Chunks


The Free Spirit Bloggers are back in action and this time the theme was chosen by Anu of Love and Lentil. She wanted us to make something with an ingredient or set of ingredients that we haven't cooked with so far os avoid because we don't like it. 

 My initial plan was to go make something with Quinoa. I have tried many Quinoa dishes over the past couple of years but never tried to make anything with it myself. Work interfered and soon I was left with little time to figure out what to do, and that's when I came across a bag of moong bean sprouts in Mustafa Centre.


TH hates sprouts and wouldn't even come anywhere near it, let alone eat a salad or chaat made with sprouts. I had to think a bit creative here. I knew I would have to add something into the mix that he really likes - and soya chunks was the answer. 

 Soon, the idea for the biryani formed in my head and here we are. A healthy and very flavourful biryani for vegetarians and easily made vegan if you so desire.


Moong Bean Sprouts Biryani with Soya Chunks

Serves 2


Ingredients:
2 cups of cooked rice 
1 large onion 
2 tomatoes, pureed 
4 green chillies 
1" piece of ginger 
4 garlic cloves 
1 tsp of freshly ground mixture with 2 cloves, 2 cardamom, 1" piece of cinnamon 
1/2 tsp of black pepper powder 
1 cup of moon bean sprouts 
1/4 cup of soya chunks, cooked in boiling water for 5 mins, drained, and squeezed of extra water 
1/2 tsp  of jeera / cumin 
1 tsp of coriander powder 
1/2 tsp of red chilli powder 
A pinch of turmeric 
1 tbsp of ghee or oil
To taste salt 

How I Made It:

 1. Grind together the onion, green chillies, ginger, and garlic. 

 2. Heat oil or ghee and add the cumin. When it sizzles, add the onion paste and fry together until it turns a darker shade of brown. 

 3. Next, add the red chilli powder, turmeric, and coriander powder, fry for 5 seconds, and add the pureed tomato. Coon until the oil begins to show on the sides - about 10 mins. 

 4. Now add the bean srouts and the soya chunks. Mix well and heat until the mixture mingles well - about 3 mins. 

 5. Finally mix in the cooked rice, salt and pepper and mix well. 

 6. Garnish with freshly chopped coriander leaves / cilantro and serve hot with any raita of choice.


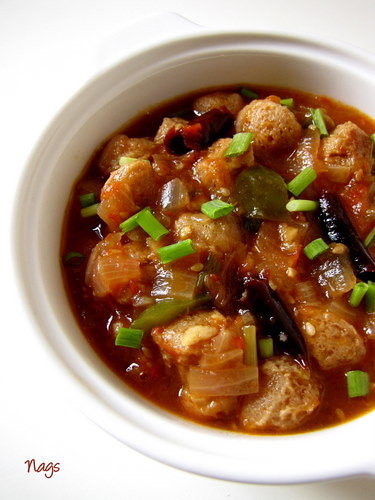
Chilli Soya Chunks / Meal Maker Recipe

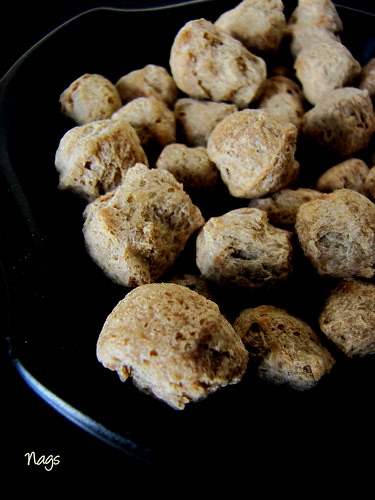
TH loves soya chunks. After paneer and mushrooms, this is probably his next favourite thing. Although I used to dislike the bland taste when I was younger, I have acquired a taste for it now. So I am always on the look out for new soy chunks recipes even though I tend to stick with my tried and tested Soy chunks masala recipe most of the time.

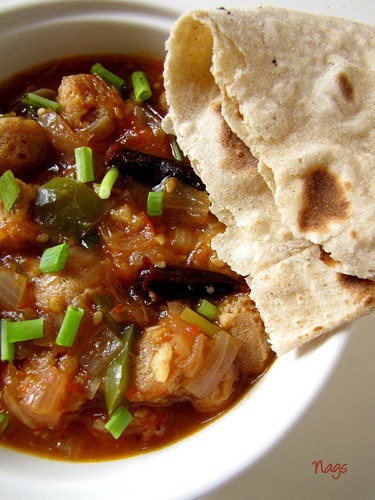
the moment I saw the chilli soy chunks recipe in Soma's eCurry, I knew I'd be trying it very soon. The ingredients were mostly every-day stuff and I always have some soy chunks (or meal maker, as TH calls it) in the house.


It was really really good, to say the least. We had it with chapatis but am sure it goes much better with fried rice.
Chilli Soya Chunks
Serves: 3 to 4
Source: eCurry

What I Used:

1 cup uncooked Soya Chunks/Meal Maker
1 onion, chopped into rough squares
1 large tomato, pureed
2 green chillies (I used Thai chilli padi)
1 small capsicum, cut into squares
2 tbsp ginger garlic paste (I used freshly minced ginger and garlic)
6 dry red chillies (adjust to taste)
2 tbsp soya sauce
1 tbsp tomato sauce/ketchup/hot and sweet sauce
2 tbsp oil
Spring onions or scallions for garnishing
Salt to taste

How I Made It:

1. Boil about 4 cups of water and add about 2 tsp salt and the soya chunks to it. Keep closed and let it soak for 30 mins. 

2. Heat the oil in a pan and add the dry red chillies. To this, add the onions, capsicum, green chillies and ginger-garlic mixture. Fry for 2-3 mins on medium heat until the red chillies turn brown and the onions get transparent. 

3. Drain the soaked chunks and reserve the water. Squeeze them gently to remove excess water and add to the pan. Add salt and toss well, letting it cook for about 5 mins and until well combined. 

4. In the reserved water (adjust to get 1.5 cups water, adding more plain water if required), add the soya sauce, pureed tomato and tomato sauce. Mix well. 

5. Turn the heat to high and add this to the pan with the soya nuggets. Mix well on high for 30 seconds and then lower the heat to medium-low. Cook closed for 8-10 mins. 

6. Garnish with the spring onions, scallions and serve with rice or roti.


Note: The quantity of sauce in this recipe can be varied according to personal choice. Since I serve it with chapatis, I wanted more gravy than normal. Make sure you adjust water accordingly because as you keep this dish longer, the soya nuggets will absord more and more water making the dish drier than you may wish it to be. 

Edited to add tips from The Wandering Minstrel and Soma:

- To remove the 'stink' present in soya chunks which some of you may not like, add some minced garlic and boil in water for 5 mins. Cool, squeeze out extra water and use as above. 

- Soak those nuggets in a bowl of hot water, along with 3-4 spoons of milk - that takes away the raw soya taste and leaves the soya nuggets creamy and smooth. 

Please feel free to share how you go about prepating the soya chunks before cooking.


Related Posts Plugin for WordPress, Blogger...